Wooden posts, a staple in many homes and gardens, are susceptible to rot when they come into prolonged contact with moisture from the soil. However, with the right preventative measures, you can ensure the longevity of your wooden posts. Here’s a comprehensive guide to help you achieve just that.
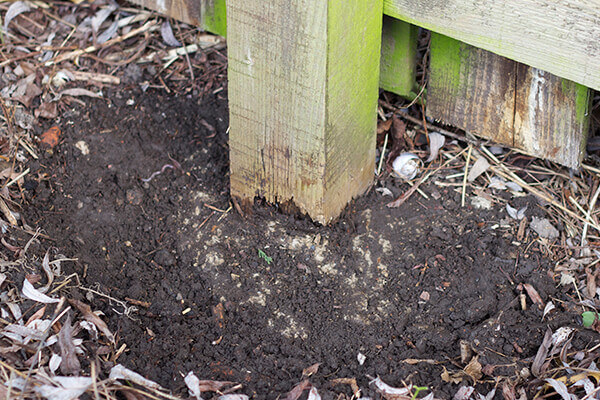
The Problem: Wooden posts, especially those directly set into the soil, face the risk of rotting. This is because wood, being an organic material, can decay when exposed to moisture and certain soil microbes over time.
The Importance of Prevention: Once a post starts rotting, it loses its structural integrity. This not only poses a safety risk but also means that the post will need to be replaced – a task that can be both time-consuming and costly.
Overview of Solutions: The key to prolonging the life of your wooden posts lies in choosing the right type of wood, treating it appropriately, and setting it correctly if it’s meant to bear weight.
Method 1: Selecting a Type of Lumber for Posts
- Choosing the Right Wood: Hardwoods like oak, cedar, and redwood are naturally resistant to rot. Their dense grain structure makes them less susceptible to water infiltration.
- Treated vs. Untreated: While hardwoods are naturally durable, they can benefit from additional treatments. On the other hand, softer woods absolutely need to be treated to stand a chance against rot.
Method 2: Treating the Wood
- Why Treat Wood?: Treating wood enhances its resistance to external elements, especially moisture, thereby prolonging its life.
- Types of Treatments:
- Preservatives: These are chemicals that make the wood toxic to fungi, the primary cause of rot. Examples include copper azole and alkaline copper quaternary.
- Sealants: These are applied to the surface of the wood, forming a barrier against moisture.
- Application: Always follow the manufacturer’s instructions when applying treatments. Typically, the wood should be clean and dry before application. Using a brush or spray, apply the treatment evenly, ensuring all surfaces are covered.
Method 3: Setting the Post in Concrete
- The Concrete Advantage: Concrete acts as a barrier, preventing soil moisture from reaching the wooden post. It also provides stability, especially for posts bearing weight.
- Steps:
- Dig a Hole: The hole should be thrice the width of the post and about a third deeper than the intended setting depth.
- Add Gravel: Before placing the post, add a layer of gravel at the bottom for drainage.
- Place the Post: Position the post in the center of the hole.
- Pour Concrete: Mix concrete as per the manufacturer’s instructions and pour it into the hole until it’s about 2 inches from the top.
- Let it Set: Allow the concrete to cure for at least 24 hours before attaching any weight to the post.
Things You’ll Need
- Hardwood or treated softwood posts
- Wood preservatives or sealants
- Brush or spray for application
- Concrete mix
- Gravel
- Shovel
Tips and Warnings
- Regular Inspection: Periodically check your posts for signs of rot or damage. Early detection can save a post from complete decay.
- Safety First: Always wear gloves and safety goggles when working with chemicals or concrete.
- Proper Storage: If you have extra posts, store them in a dry place away from direct contact with the ground.
Conclusion:
Ensuring the longevity of wooden posts is not just about aesthetics but also about safety and cost-effectiveness. By selecting the right type of wood, applying appropriate treatments, and setting the post correctly, you can prevent the common issue of rotting and extend the life of your posts significantly. Remember, a little effort in the beginning can save you from the hassle of frequent replacements in the future. With the right knowledge and tools at hand, your wooden structures can stand tall and sturdy for years to come.